Web Manual

Web Manual


Login at https://grangepools.com.au/wp-admin

username: grangepools

password: GrangePools2023!@#

PROJECTS

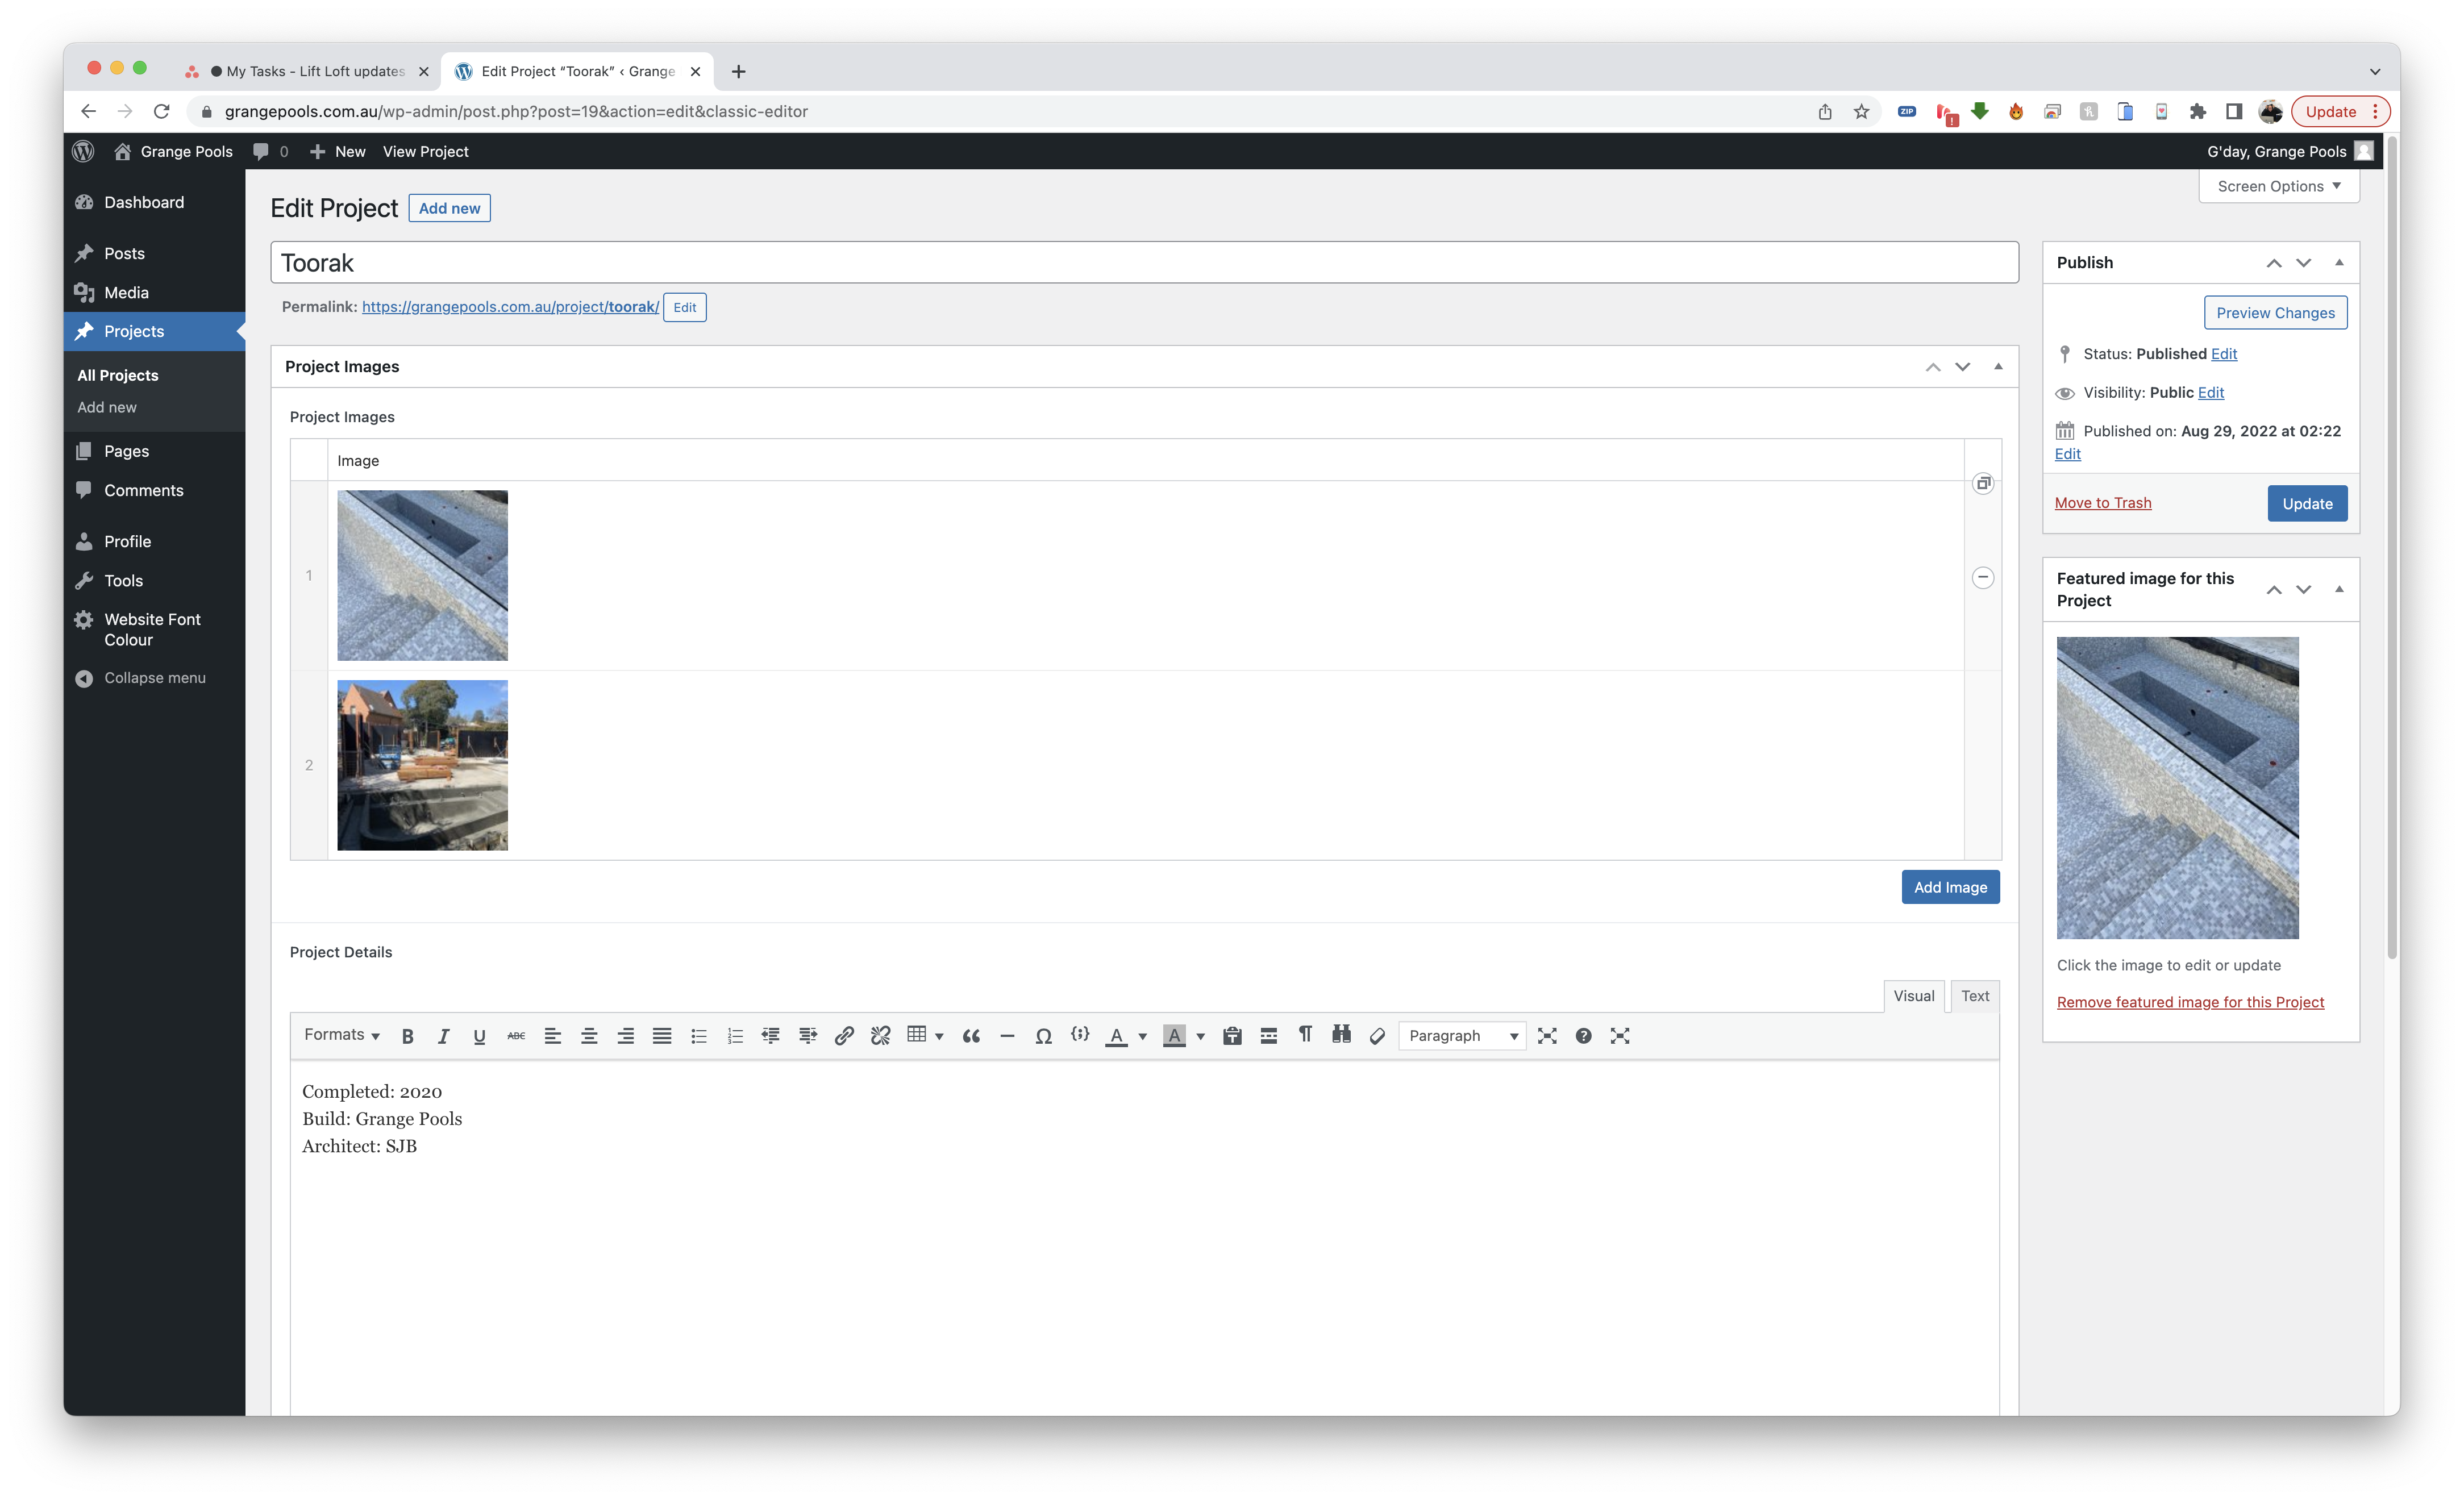
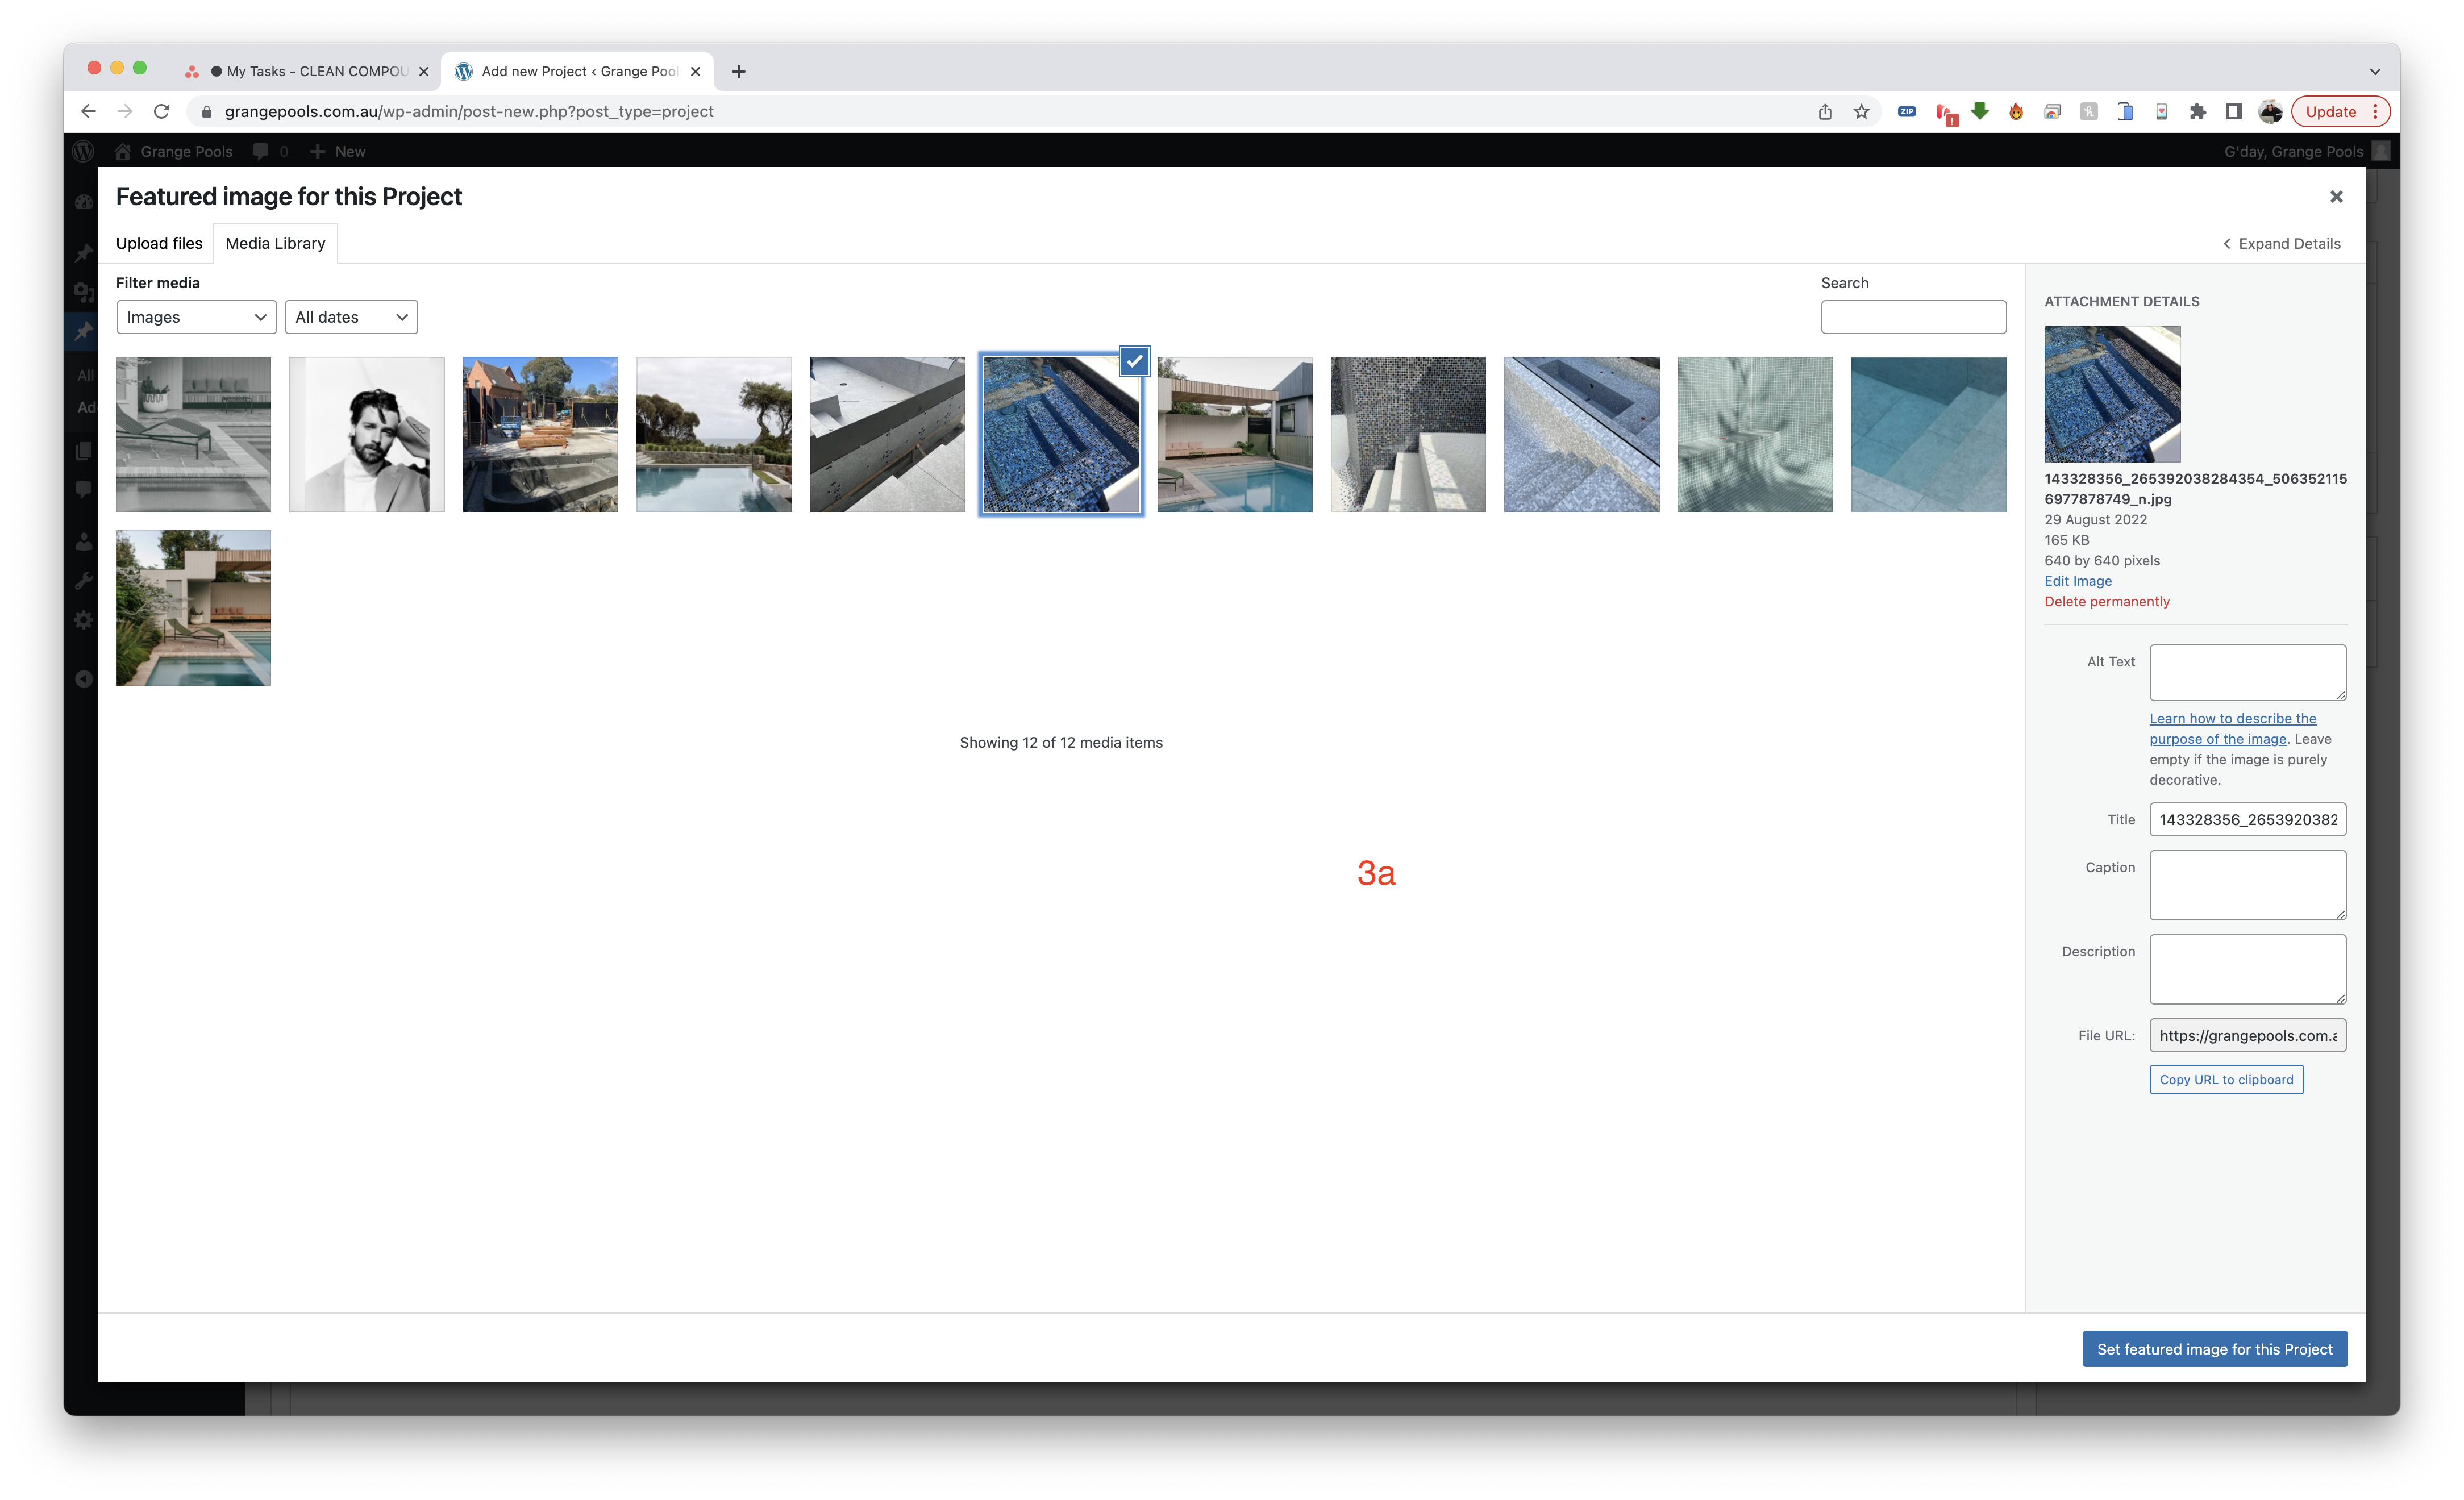
Navigate to Projects > Add New

  1. Enter the title of the project here
  2. Click ADD IMAGE to insert a row
    1. 2a – click here to insert image
    2. 2b – drag and drop images file here to upload. once done and you can see blue tick on top right of the image thumbs, click select to insert the images
  3.  Click here to insert project thumbs
    1. 3a – drag and drop here to upload image as project thumb. once done and you can see blue tick on top right of the thumb, click SET FEATURED IMAGE FOR THIS PROJECT
  4. This is the area to enter project details e.g Completed, Build, Architect etc.
  5. This is the detailed description of the project

once done click publish for new project or update for existing project

completed example shown on the screenshots


ABOUT PAGE

Navigate to Pages > All Pages > About

  1. this is the section title. corresponding to the sub menu in the About page
  2. The team list. this section has been formatted to display 2 people in a row. the text are underneath the photo
  3. to add team photo click add media, and follow the instruction to upload media in previous section. once done click insert to page.
  4. this is the about section. the heading are wrapped in H3 title wrap.
  5. this is the contact details section. this section correspond to header menu CONTACT. the headings and sub headings are wrapped in H4 and H5, copy accordingly.

once done click update to save the changes